So I follow a low carb/Keto diet and have lost 35 pounds (still have about 50 to go). I also love freezer meal prep, you know, prepping your meals up ahead of time to make dinner time a snap! I have compiled a list here of a few of my fave Keto freezer meal prep ideas. I hope this helps someone out!

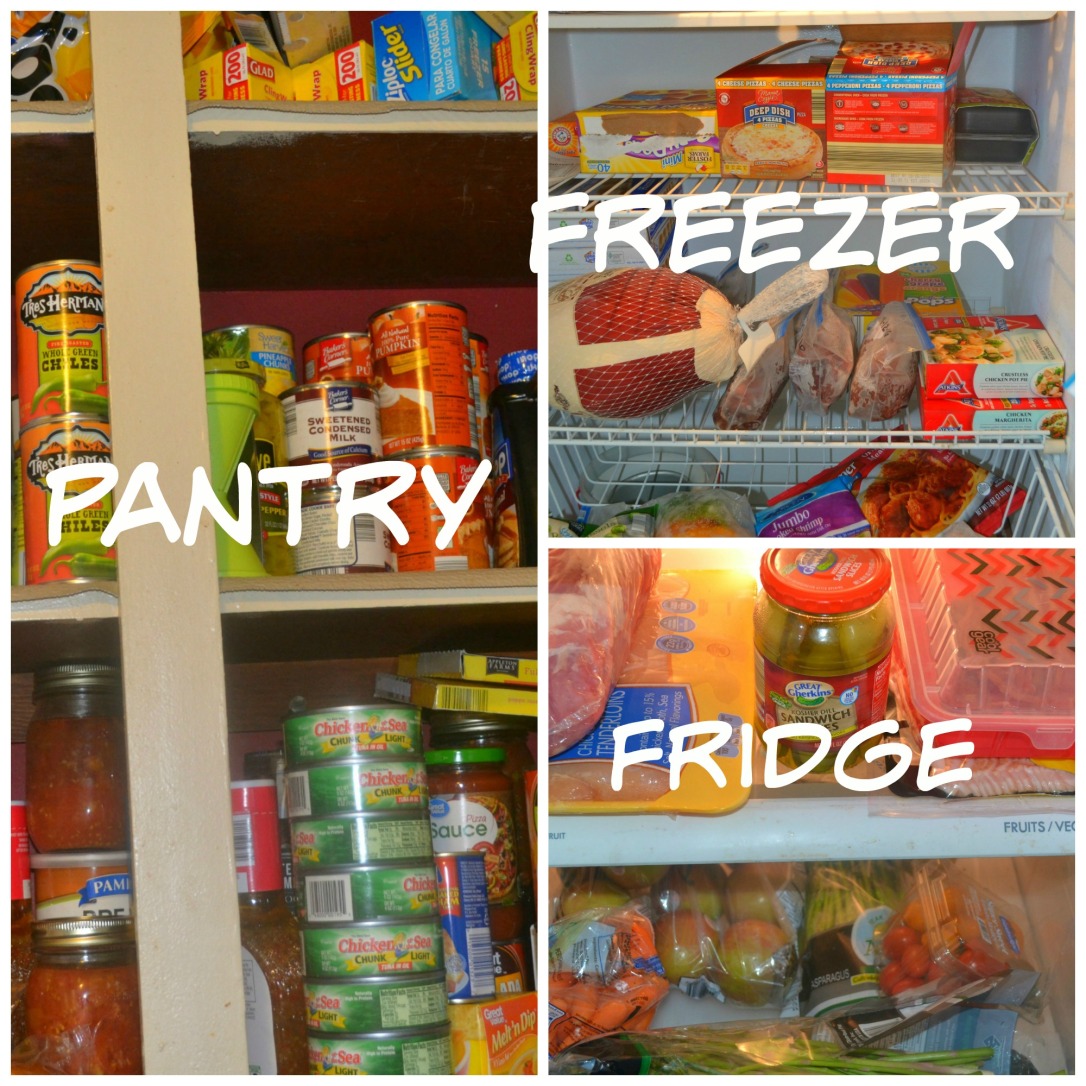
First off, I stock my freezer with super low carb/healthy veggies (cauliflower rice, brussel sprouts, spinach, broccoli, green beans, bell peppers,etc). I freeze up bell peppers in halves and also in thin sliced rings. The box in this pic is of individual sausage patties (easy to take out just one or two and defrosted quickly).
So here’s the list of dinners I prepped for, with recipes included below.
- BBQ Pulled Pork (slow cooker) serve with homemade keto coleslaw
- Italian Meatballs (served with cheesy Italian spaghetti sauce over spaghetti squash)
- Fajita Chicken pieces (in one freezer bag with seasonings) and thin sliced onion and bell peppers (in another bag) Serve with lettuce, tomato, cheddar and sour cream as a fajita salad
- Creamed Beef Tips (slow cooker) serve with Cauliflower Rice and Steamed Asparagus
- Crispy BBQ Chicken Tenders
- Beef Patties (to use for hamburgers or Hamburger steaks)
- Chili (serve with crispy cheese bites)
BBQ Pulled Pork
1 1/2 pounds boneless pork loin (with some fat on it)
1/4c beef broth
1/4 c Sugar Free BBQ sauce (I love G Hughes Smokehouse Sugar Free BBQ sauce, find it at WalMart)
Tsp or two liquid smoke
Tsp or two onion powder and garlic powder
Place the meat into a gallon size freezer bag. In measure cup or bowl mix rest of ingredients together. Pour over meat and place in fridge or freezer.
Slow cook for 5-7 hours on low. Shred and serve with more sauce and coleslaw (or your choice Keto friendly side).
You can double or triple the amounts and make up several bags, if you like.
Keto Coleslaw
1 Bag Slaw Mix (I prefer the tri-color myself)
1/4c Mayo (I love Dukes!)
1/4c Apple Cider Vinegar
Tsp Stevia
Dash Salt and Pepper (to your liking)
In a measure cup add the vinegar, mayo, stevia, salt and pepper. Dump the slaw mix into a large bowl. Add the measure cup contents to the slaw, it’ll be a bit dry. Let sit for an hour or so. Add a bit more mayo if desired.
Italian Keto Meatballs
1lb ground beef
1lb ground Italian sausage
2 eggs
1/2c Parmesan cheese (the canned powdered kind)
Garlic powder and onion powder as desired.
Mix all ingredients together, use a small scooper to form small meatballs. Place onto a cookie sheet lined with parchment paper. Freeze until hardened and place into freezer bag.
These can be baked and used to make spaghetti squash and meatballs marinara or just eaten as a snack.
This recipe can also be doubled or tripled and kept in the freezer.
Freezer Friendly Chicken Fajitas
1lb chicken breast, cut into bite size pieces
1/2 package fajita season
Cilantro, finely chopped, few tablespoons, as you like to taste
Juice of 1 lime
Place into freezer bag and freeze or refrigerate until use. You may double or triple the batch and freeze multiple bags up.
Thaw out and saute in a little olive oil until cooked. Add onions and bell peppers if desired. Serve with low carb tortillas or in a Fajita Salad.
Creamed Beef Tips
1 1/2 pounds Beef stew meat
2Tbsp Butter (I love Kerry Gold)
2Tbsp worcestire sauce
Black pepper, as you like
1/4c beef broth
Add all to freezer bag. Freeze until ready to use. Place in slow cooker and cook on low for 6-8 hours. Shred up and add 2 Tbsp Heavy whipping cream and another 1 Tbsp butter.
Serve over cauliflower rice. I serve with steamed asparagus. This is one of my faves!!
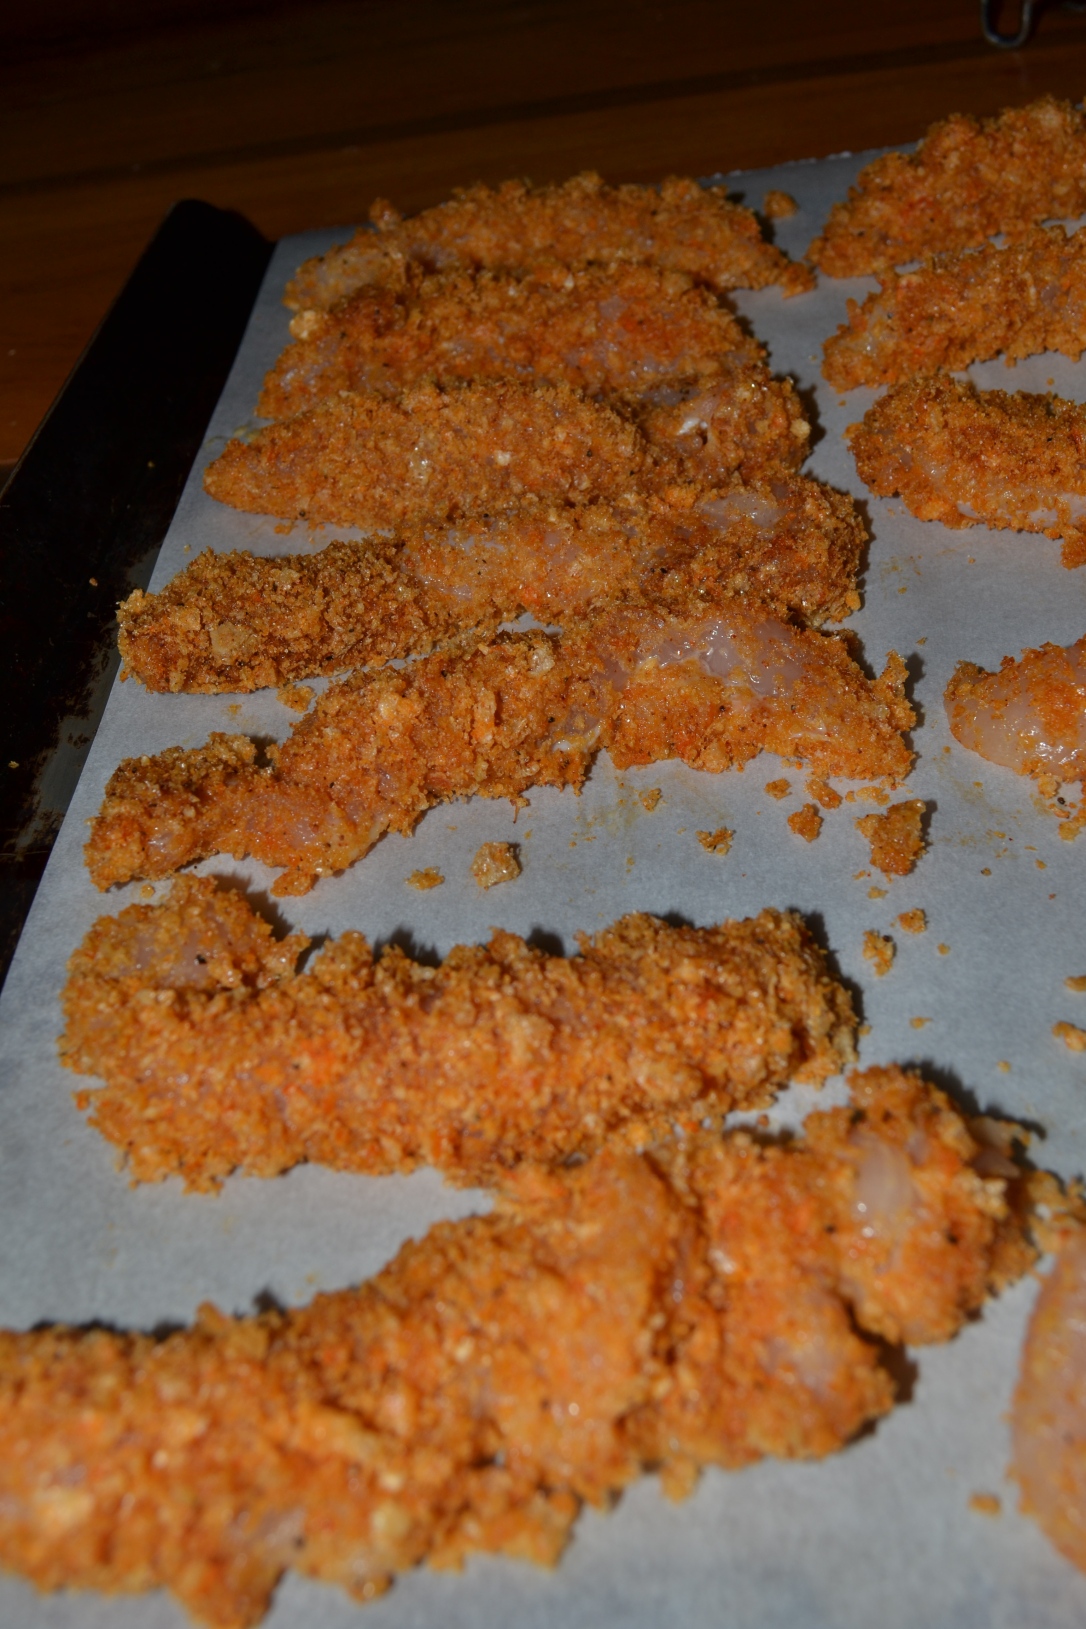
Crispy BBQ Chicken Tenders
1lb chicken tenderloin strips
1/2 bag BBQ flavor Pork Rinds
1 Tbsp Poultry Season
1/4c heavy whipping cream
2 eggs
Tbsp or two water
Cut chicken tenders into two pieces. In shallow dish add cream, eggs and water. Whisk together well.
Place pork rinds into gallon zip top bag. Crush until pretty fine. Add seasoning to bag.
Dredge chicken into cream mixture, then into the crumbs. Place on a cookie sheet lined with parchment paper. Freeze until hard, then place into freezer bag. You can double or triple this recipe and make more to keep on hand.
When ready to use, bake at 400 degrees for 10-12 minutes, until cooked through.
I dip these in Siracha Ranch (ranch dressing mixed with Siracha sauce) or SF BBQ sauce.
Beef Patties
2lb ground beef
Form into 8 patties, freeze on cookie sheet lined with parchment paper. When frozen solid place into freezer bag.
Use for burgers or for making hamburger steak
Hamburger Steak
4 patties beef
8oz sliced mushrooms, any type you like
1 small onion, sliced thin
2Tbsp Worcestire sauce
2Tbsp Butter
2Tbsp Heavy Cream
Salt and pepper to taste
Saute beef patties, add remaining ingredients and cook until veggies are softened. I serve over cauliflower rice with a veggie side, like green beans.
Freezer Chili
1lb cooked crumbled/cooked ground beef
2- 16oz can crushed tomatoes
1 can dark red kidney beans (rinsed and drained well) then chopped coursely
Chili powder, onion powder, garlic powder, cumin, to taste (or chili seasonings of your choice)
Add all to a freezer bag and keep in freezer until ready to use. Thaw and place in slow cooker, cook on low 4-6 hours. Add a bit of water if needed, sometimes it gets a bit dry/thick.
Serve with sour cream, cheddar, or crispy cheese crackers.
Crispy Cheese Crackers
1 Pkg Ultra Thin Sargento Cheese, cut into 4 small squares
Place onto cookie sheet lined with parchment paper. Bake at 300 degrees for about 25-30 minutes. They’ll look burnt. Let cool off, then transfer to a cooking rack. Let sit out for a few hours. Store in a paper bag in cool dry area.
I love these! I think they taste just like cheese-it crackers.

Well there you have it! Some of my fave Keto Freezer Meals!
I’d love to hear from you! Let me know what meals your family loves! Talk to me about Keto, or just Freezer Cooking in general!
Have a blessed rest of your week!